Image 1 of 4
 Image 2 of 4
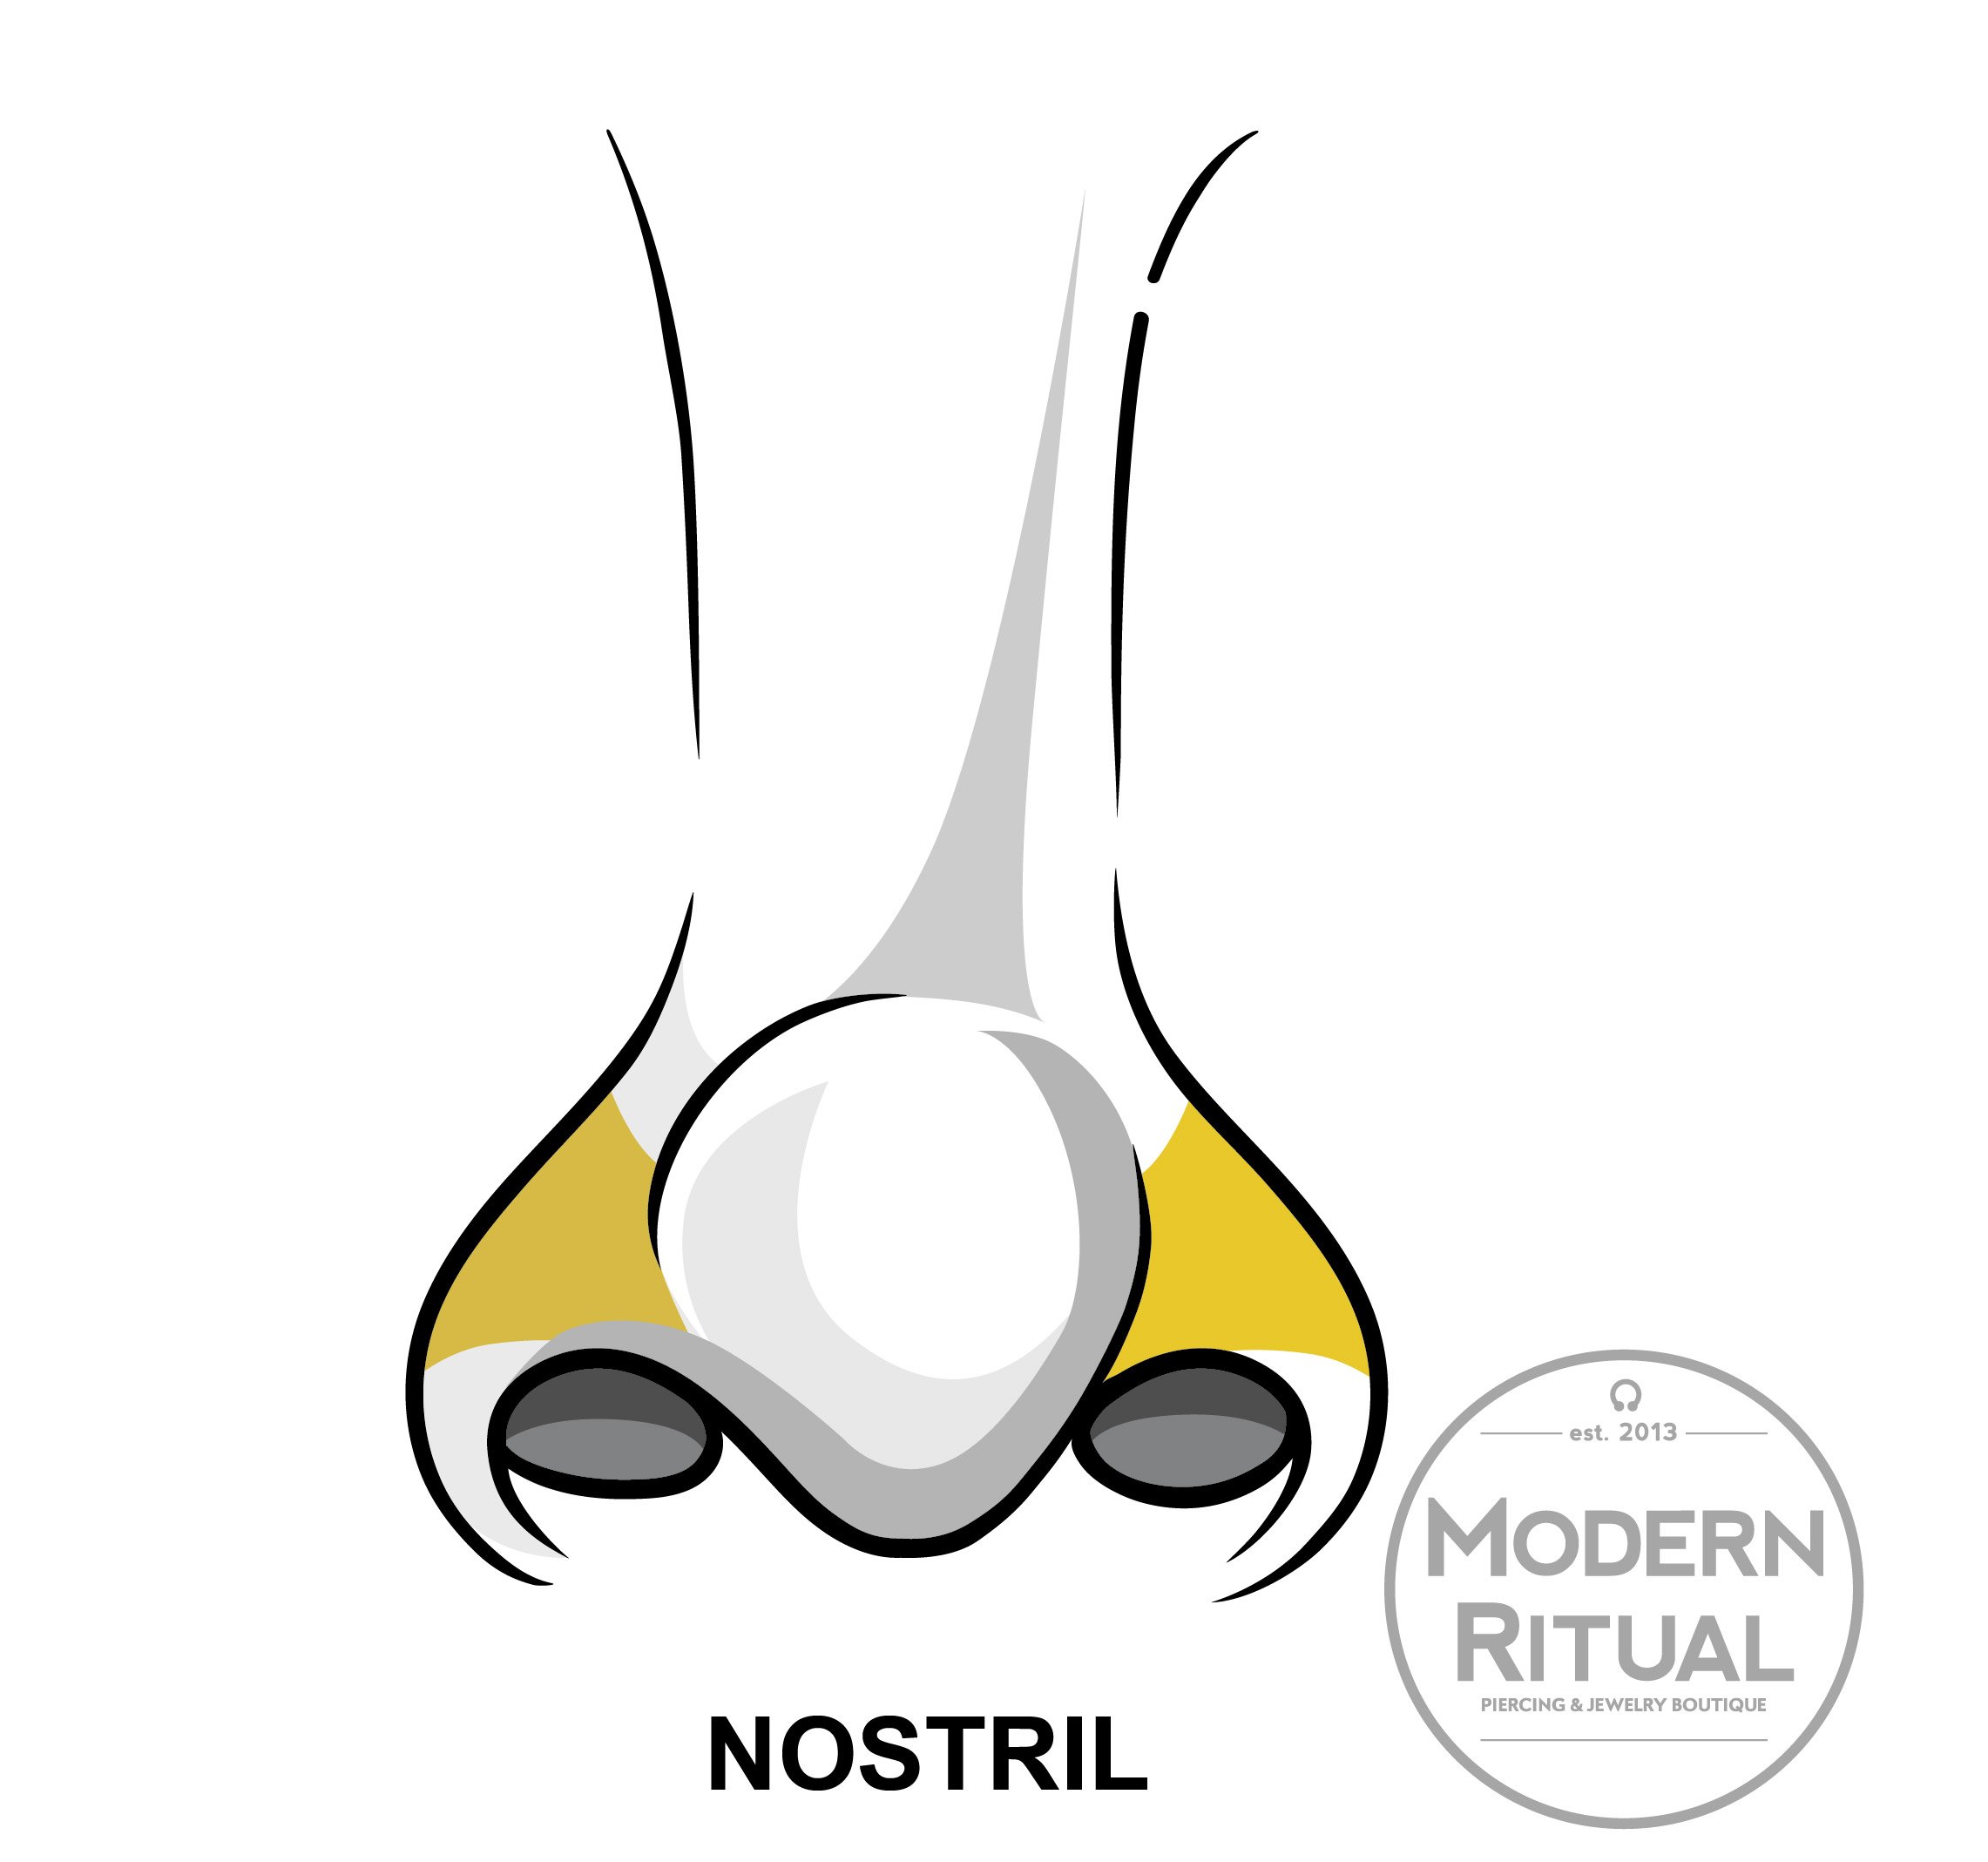 Image 3 of 4
 Image 4 of 4
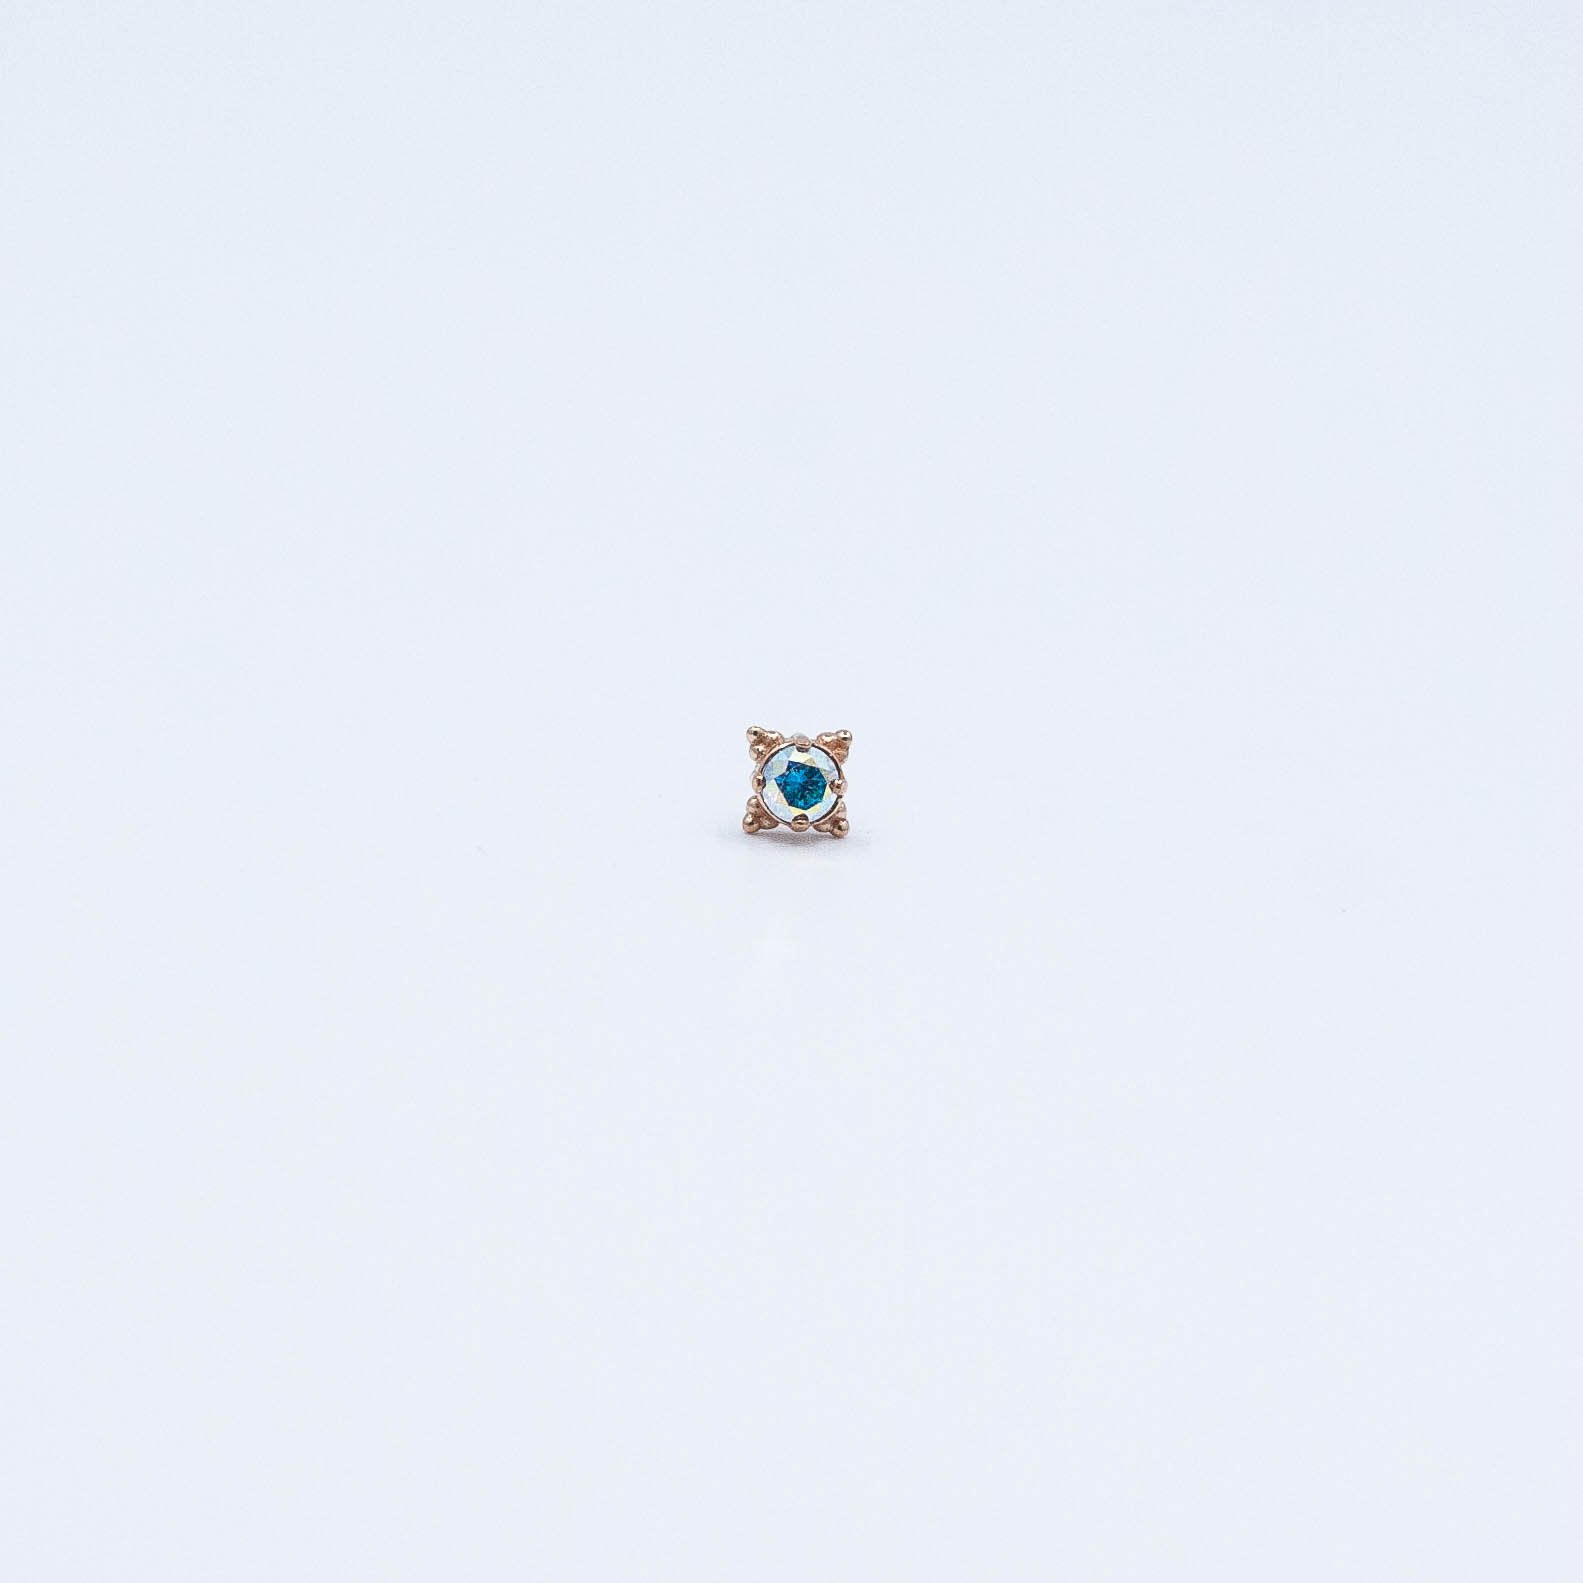
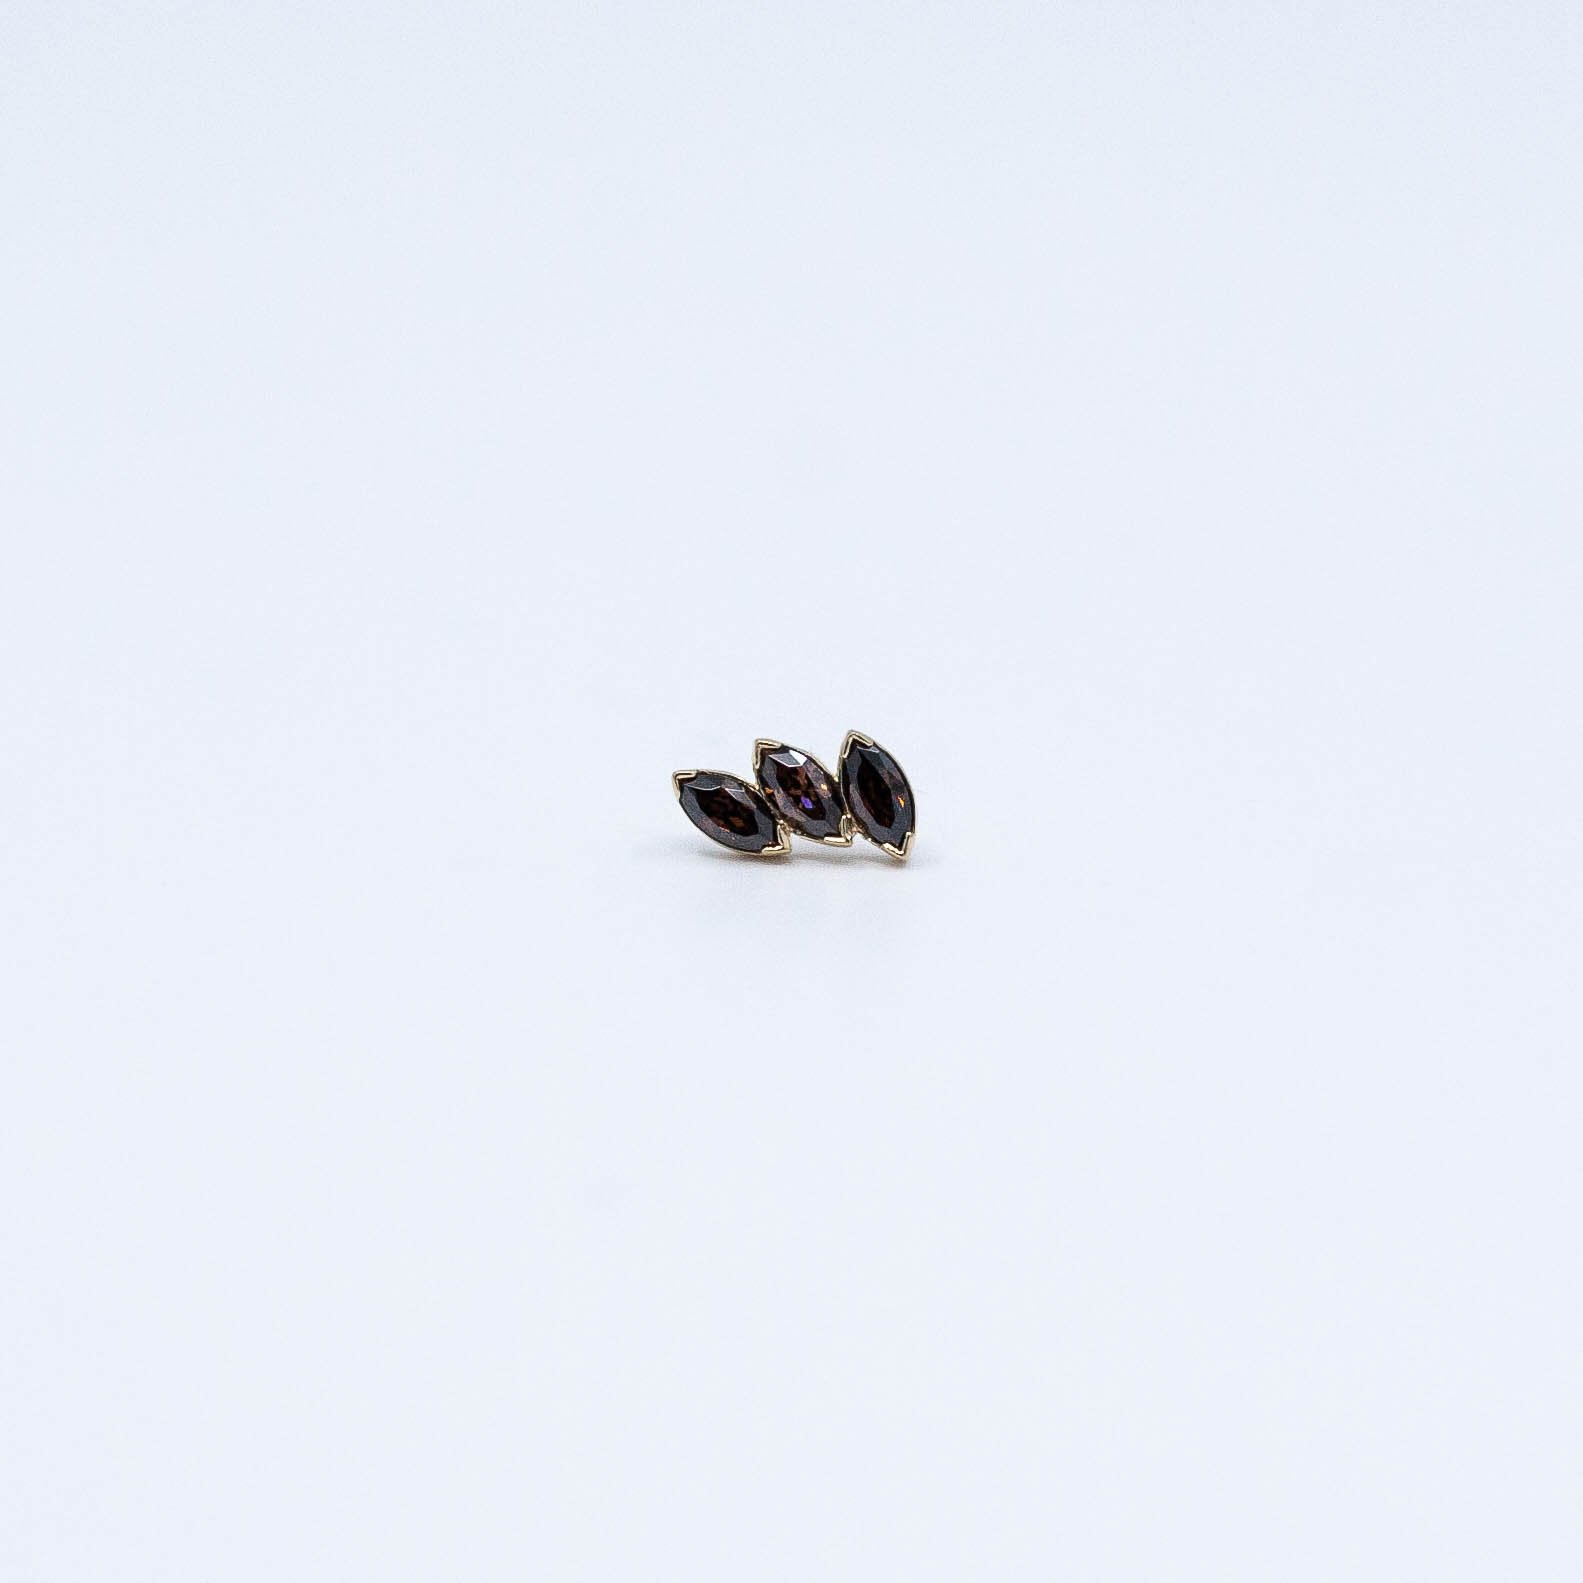
This lavishly set 4 Prong 1 Bead displays a elegant Lab White Sapphire and engrossed in 14k Yellow Gold. Created by Dusk, this Threadless end measures at 4x2.75mm.
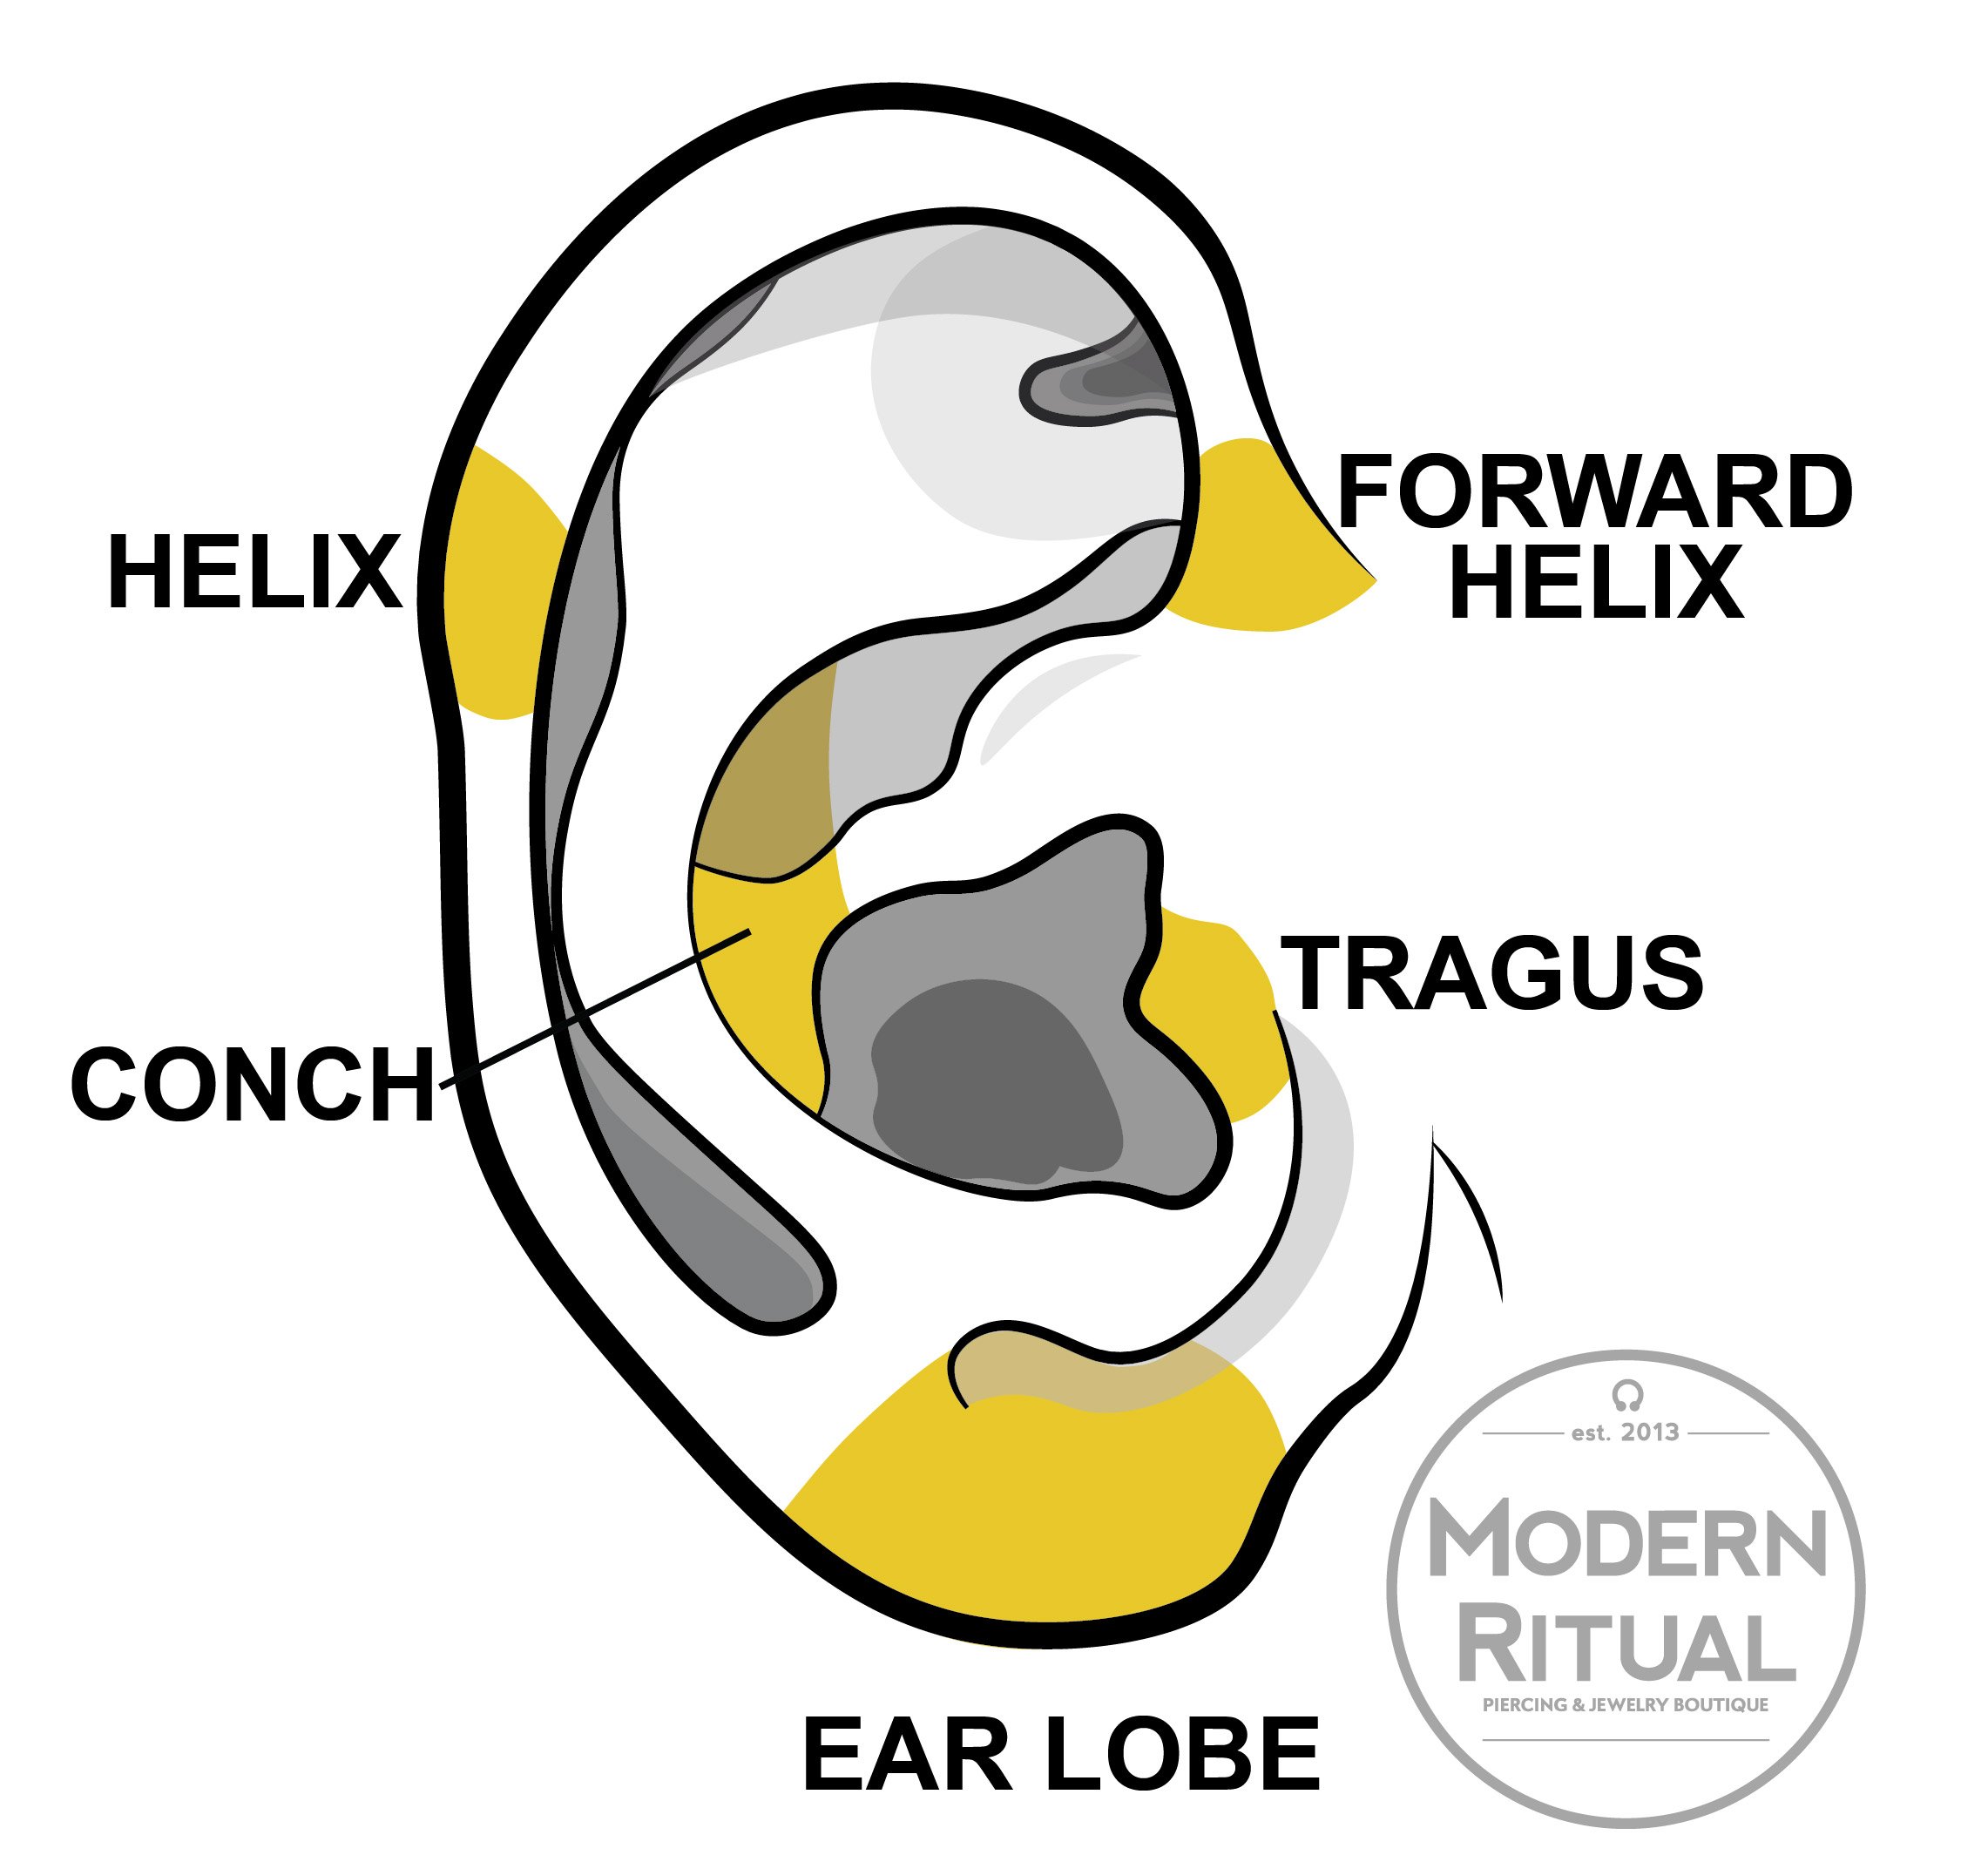
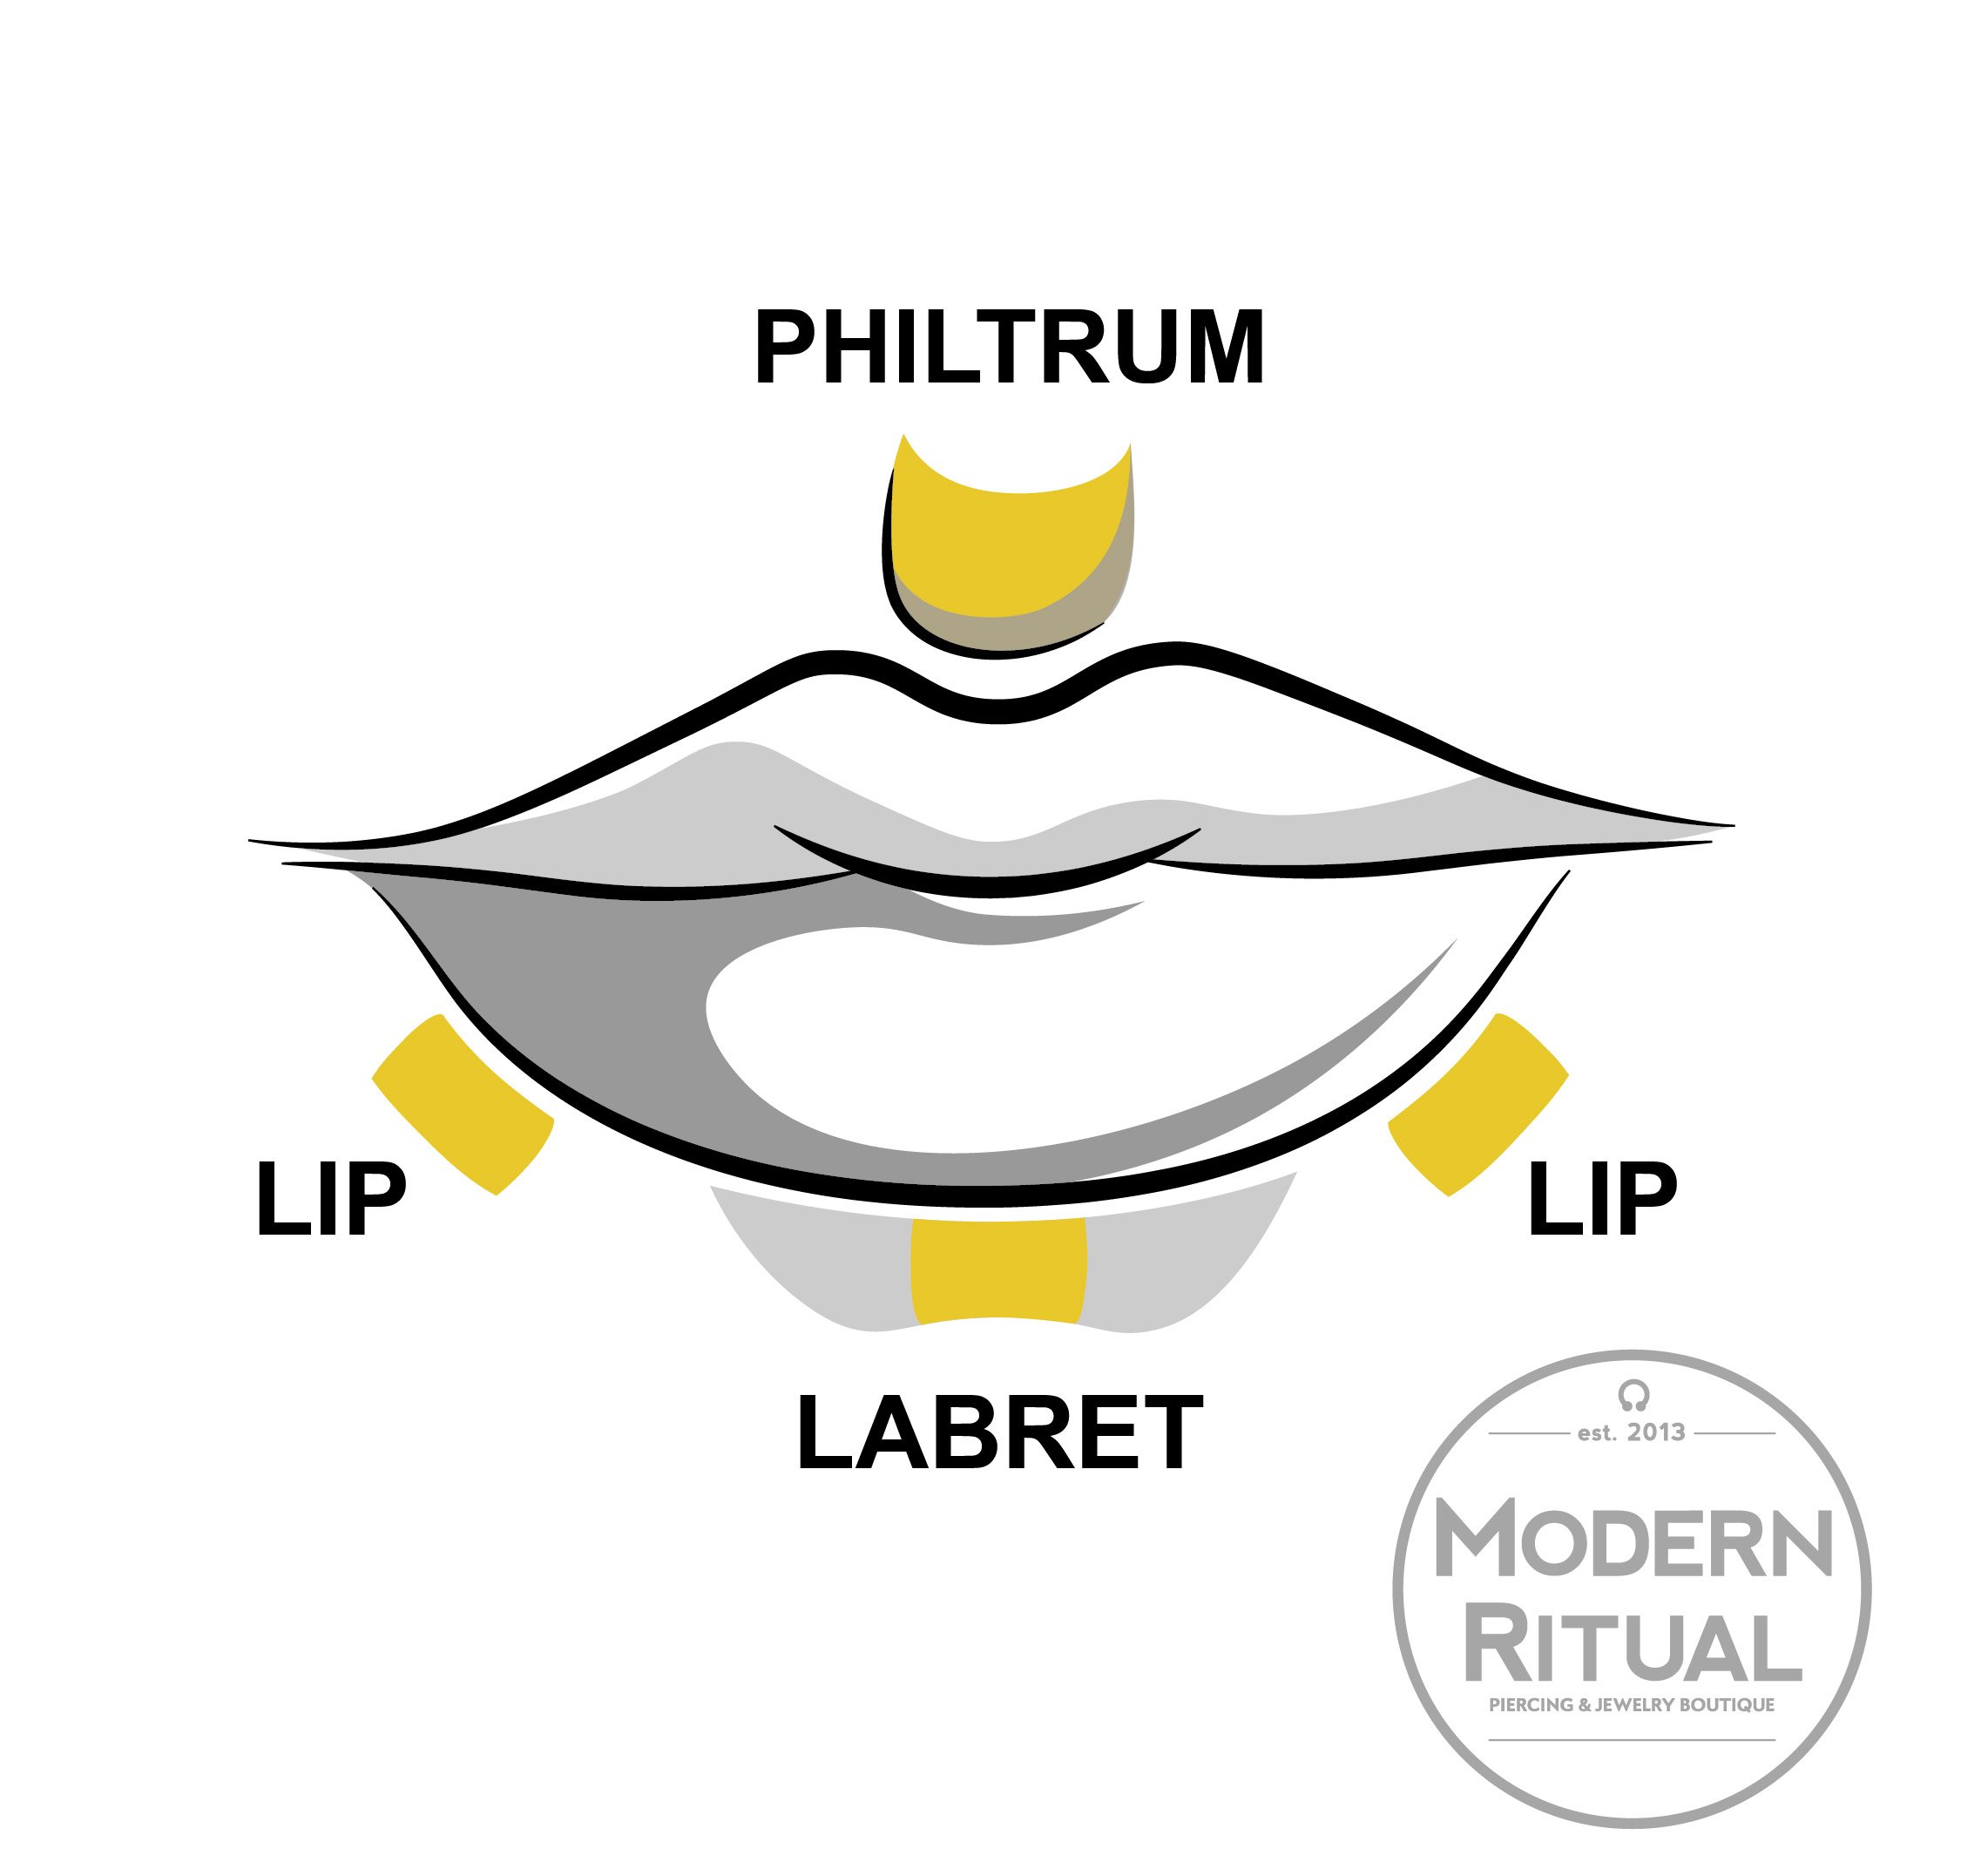
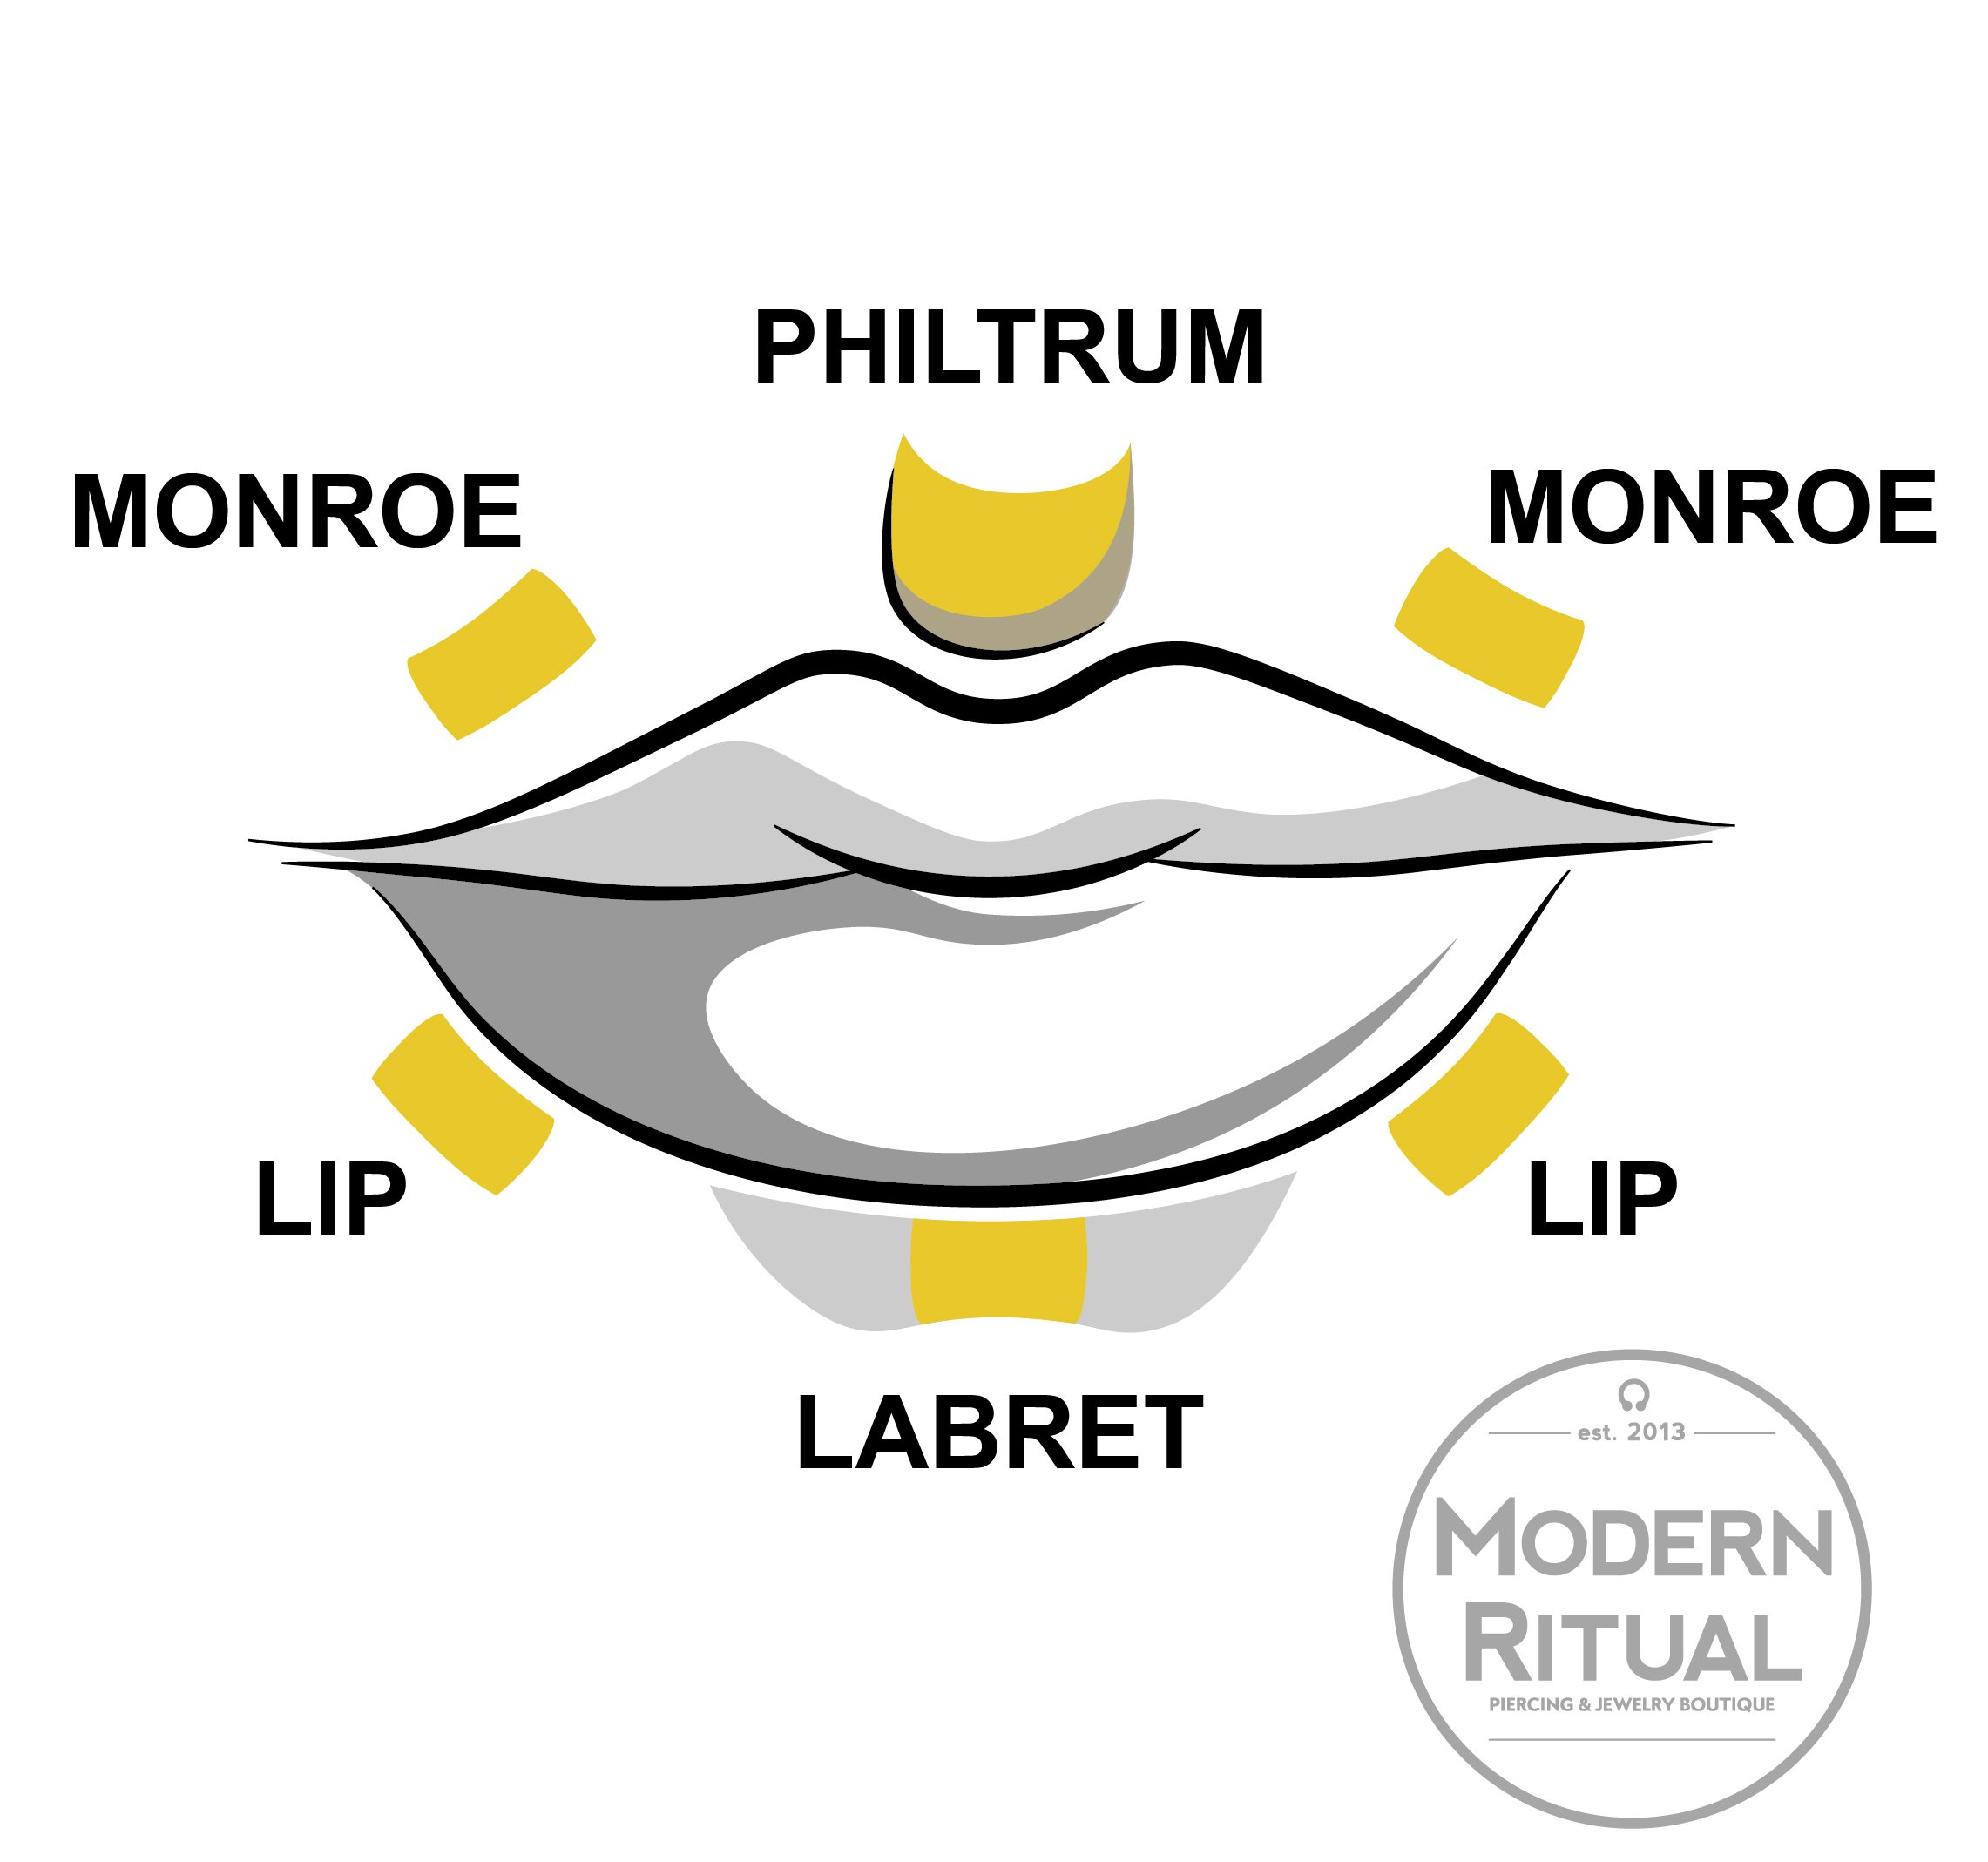
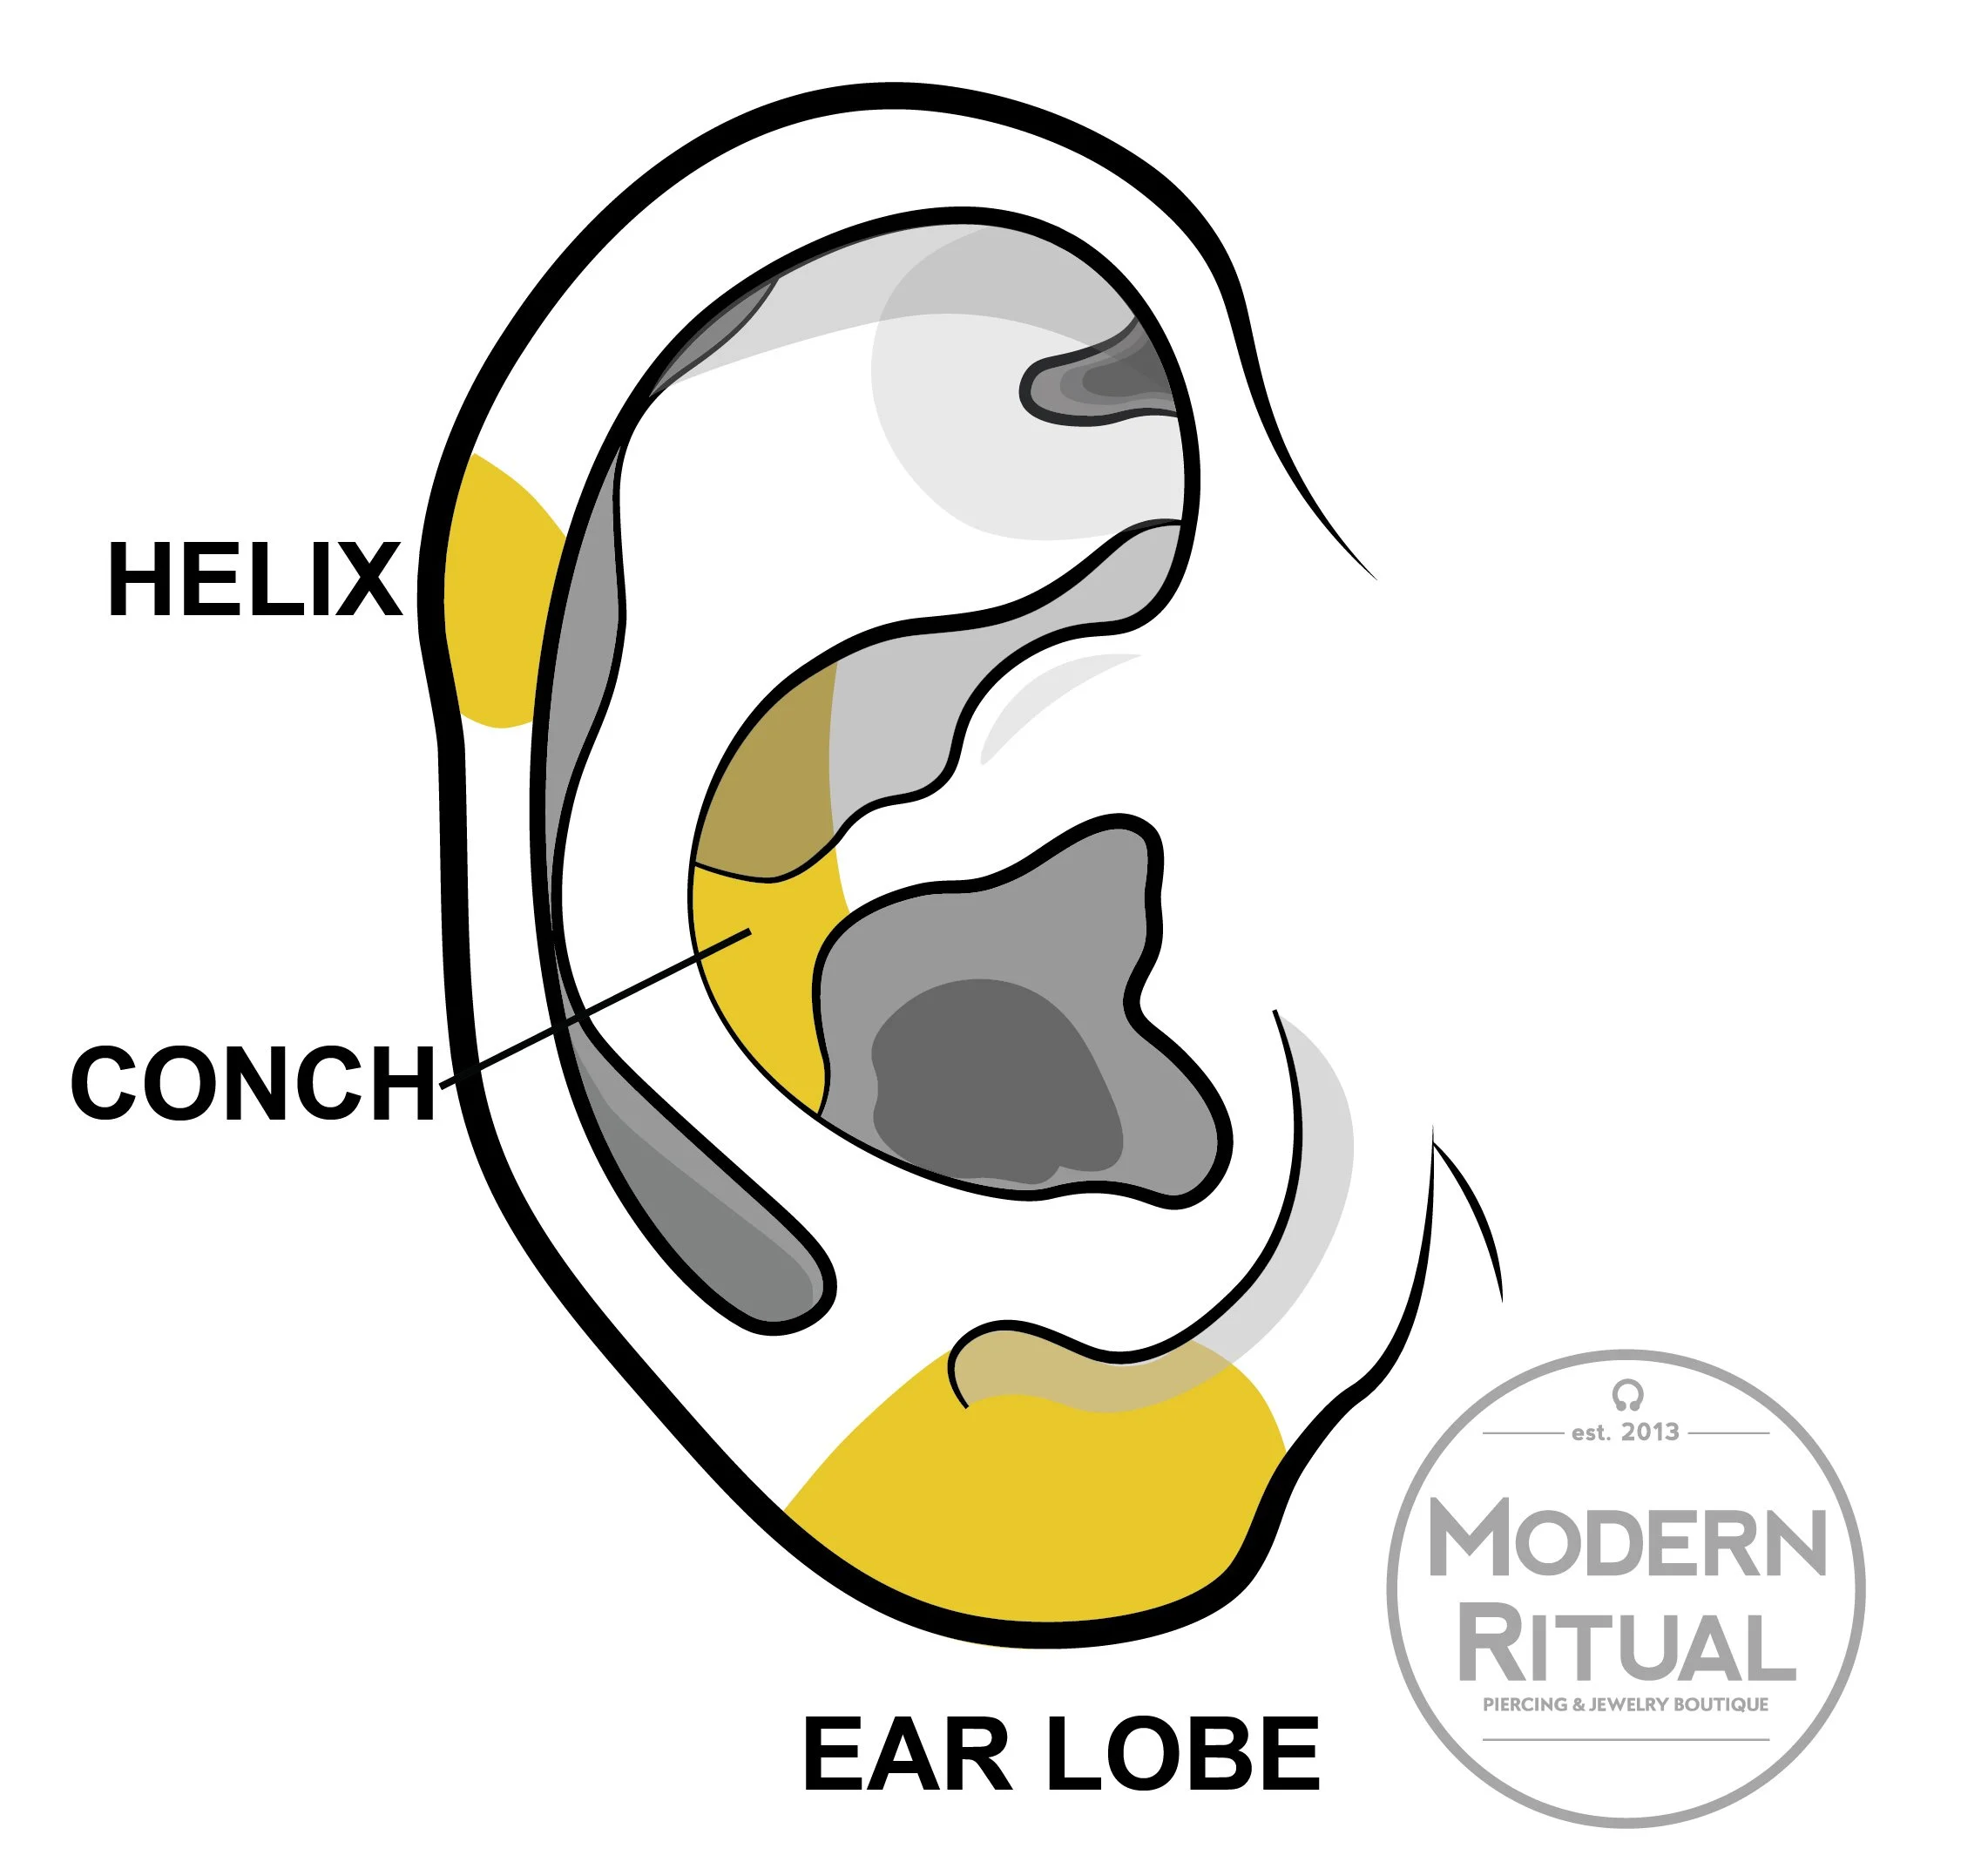
Best Body Placement: Lobe, Helix, Conch, Tragus, Forward Helix, Lip, Labret, Philtrum, Nostril
Product Specifics:
Gauge: 18g/16g
Karat: 14k
Material: Lab White Sapphire, Yellow Gold
Color: White, Clear, Yellow Gold
End Size: 4x2.75mm
Gemstone Size: Lab White Sapphire 2.5mm
Threadless
This lavishly set 4 Prong 1 Bead displays a elegant Lab White Sapphire and engrossed in 14k Yellow Gold. Created by Dusk, this Threadless end measures at 4x2.75mm.
Best Body Placement: Lobe, Helix, Conch, Tragus, Forward Helix, Lip, Labret, Philtrum, Nostril
Product Specifics:
Gauge: 18g/16g
Karat: 14k
Material: Lab White Sapphire, Yellow Gold
Color: White, Clear, Yellow Gold
End Size: 4x2.75mm
Gemstone Size: Lab White Sapphire 2.5mm
Threadless